Welcome to a post inspired by one of my favorite cartoons ever, The Powerpuff Girls! I was so excited for this post because the designs I did are some of my favorites (:
This design is inspired by the heart background shown at the end of every episode. Start off with any two shades of pink you'd like. Use one color for the base and the other to first draw a small heart in the middle and make outlining hearts around the center heart.
Next design is Bubbles! For her, I started by outlining the shape of her face, hair, and eyes in black. After that dried, I filled in the colors for her hair, face, and eyes. The hardest part for this design is getting the shape of her face right and making sure everything is proportional.
Next is Blossom! Similar to Bubbles, Start by outlining the shape of her face, eyes, hair, and big bow in black. Then simply fill in the the areas for her features.
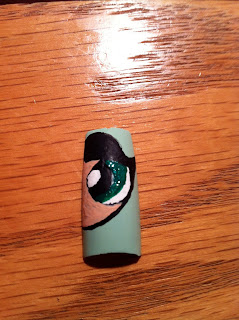
Next is Buttercup! Just like Bubbles and Blossom, begin by outlining her face and eyes with black polish. The only difference is that since her hair is black, her hair can be filled in already. After that dries, simply fill in her face and eyes.
Next is Mojo Jojo! First start with a black polish. Use it to draw an arrow shape in the middle of the nail. Near the bottom, draw a straight line and then a small upside down triangle, but make it more curved to shape his eyes. Then draw the outlines for his eyes. After the black dries, use a light purple to fill in the space between the two triangle shapes and also for his eyes. Use a bright green for his skin color. Use a darker purple to follow the shape of the black arrow in the center to create his hat. After the purple dries, add black dots to create his eyes.
Thank you for reading this and I hope you enjoyed it!
- Alyssa (:


No comments:
Post a Comment